Professional installation procedure for industrial automation systems
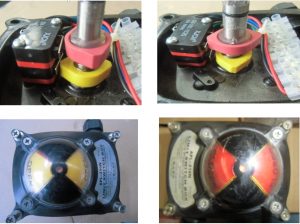
CCW → Open
CW → Close
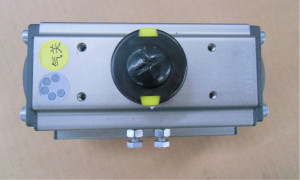
| Shaft Type | Square (Standard) |
| Orientation | Butterfly: 90° Ball: Parallel |
Default State: Normally Closed (unless specified)
If position incorrect:
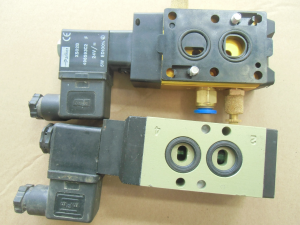
Manual override types:
Final Verification: Full open/close cycle test required
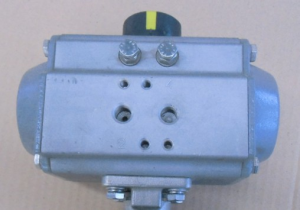
| Component | Critical Check | Specification |
|---|---|---|
| Actuator | Rotation Direction | Match Valve Operation |
| Shaft Interface | Square Compatibility | Use Adapter if Needed |
| Travel Limits | Adjustment Precision | ±1/4 Turn Max |

